
Free download
Tree risk assessment checklist, in the order you walk the tree.
The form has ninety boxes and the field has a client watching you. This checklist is the Level 2 assessment as a sequence: targets first, then site, health, load, and the tree from the roots up, then the two matrices and the paperwork. Tick as you go, write the numbers on the form or in the app, and nothing gets skipped because the mallet was in the other hand.
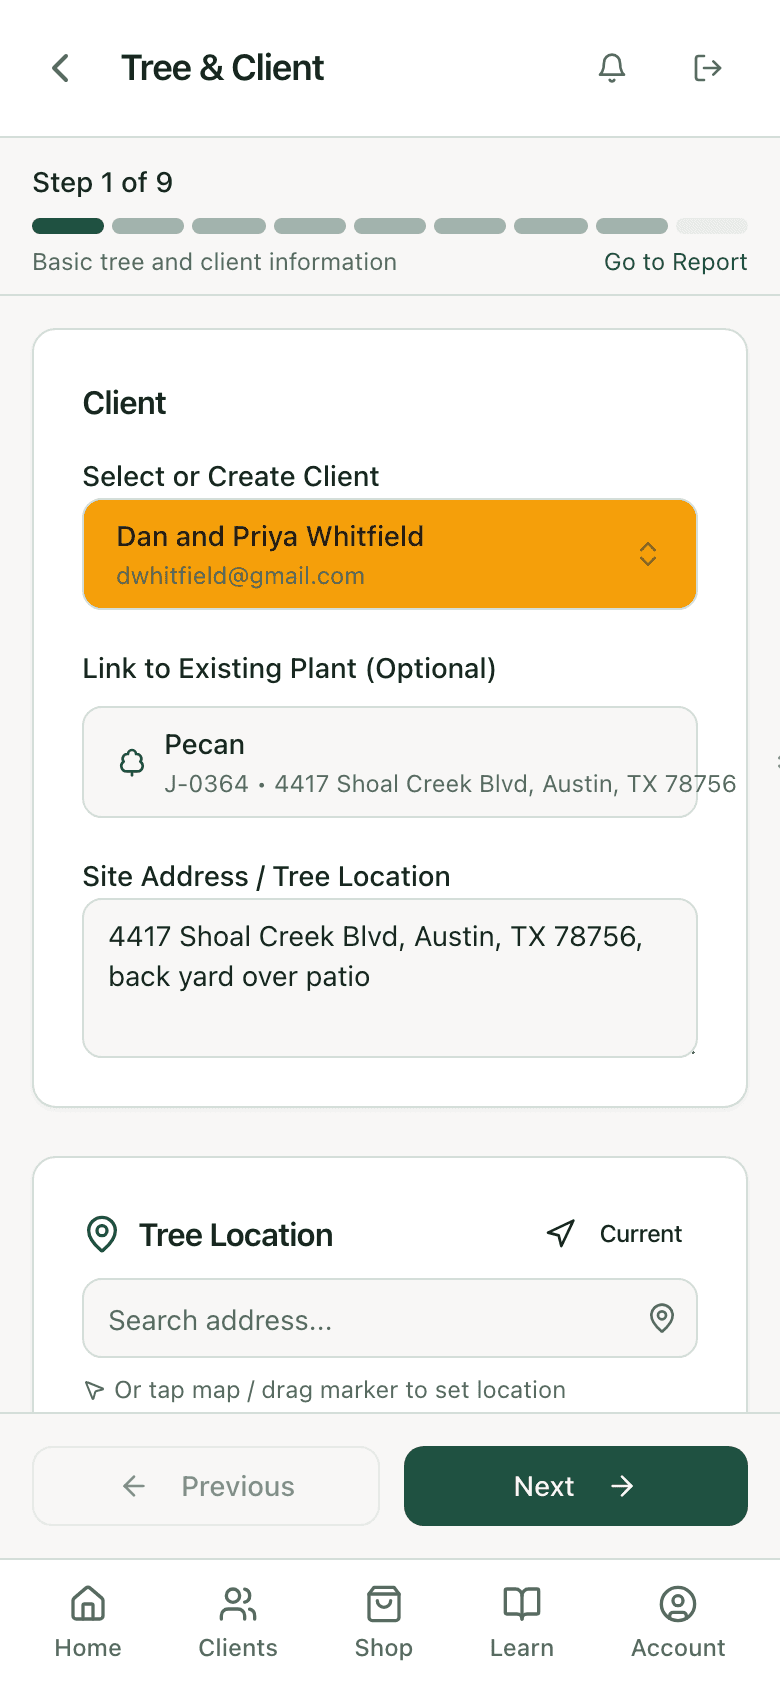
Download the blank version, or skip the paper and fill it in the app.
Field by field
What goes in each box, and why
1. Tree
Client, date, time, tree number, address, species, DBH, height, crown spread, assessor and credential number, time frame, tools.
The header is what makes the sheet evidence. A rating with no date, no tree number, and no time frame is an opinion.
2. Targets
Walk the fall zone in every direction. Name each target, its occupancy rate (rare, occasional, frequent, constant), and whether it can be moved or restricted. Ask the client where people actually stand, park, and sleep.
Targets set the consequences column, and the client knows things about the yard you cannot see: the hammock, the dog run, the corner where the kids wait for the bus.
3. Site factors
Failure history, topography and drainage, site changes with dates (grade, clearing, hydrology, root cuts, trenching, paving), soil conditions, prevailing wind and any exposure change, common weather.
Root cuts and grade changes explain most of the trees that fail without an obvious defect above ground. A neighbor tree removed last year changed the wind load on this one.
4. Tree health and species profile
Vigor, foliage condition and percentages, pests and disease, abiotic damage, how this species typically fails, wound response, recent decline versus long-standing condition.
Species profile is where local knowledge goes: silver maple loses limbs, Bradford pear splits, red oak gets borers after a drought. Health decides whether the tree can compartmentalize what you find below.
5. Load factors
Wind exposure, relative crown size, crown density, interior branches, vines and mistletoe, snow and ice history, recent or planned change in load.
The same crack is a different risk on a protected tree and a wind-funneled one. Load is half of the likelihood call and the half crews forget.
6. Defects by part
Roots and collar, then trunk, then crown, in that order, with binoculars and a mallet. For each part: the checklist of conditions, the main concern, the load on it, and the likelihood of failure (improbable, possible, probable, imminent).
Ground up because the collar is where the surprises are and the crown is where the eye goes first. Three separate likelihood calls make the categorization honest.
7. Categorization
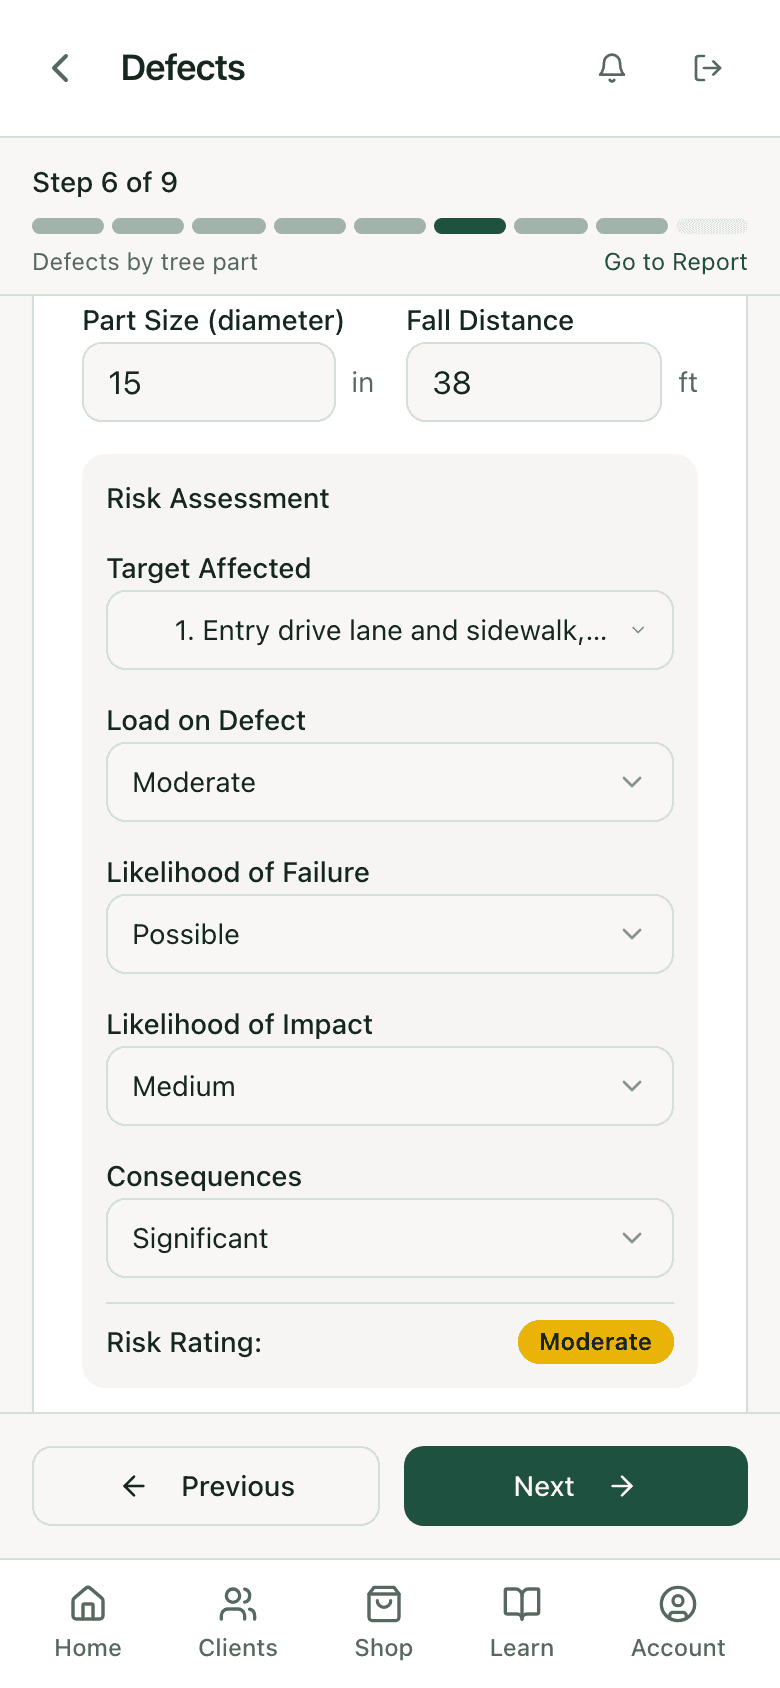
One row per failure type. Conditions of concern, part size, fall distance, target number. Likelihood of failure against likelihood of impact gives failure-and-impact; that against consequences gives the risk rating. Highest row is the overall.
Running the matrices per failure type instead of once for the tree is what separates an assessment from a gut call.
8. Mitigation
For each concern: prune, reduce, cable or brace, remove, move or restrict the target, or monitor. The residual risk after each option. Work priority 1 to 4. Whether a Level 3 assessment is needed and which kind.
Residual risk is what the client is buying. A high rating with a moderate residual after a reduction is a job; a high rating with a high residual after everything is a removal.
9. Finalize
Preliminary or final. Inspection limitations listed. Inspection interval set. Signed, dated, credential number, photos attached, report delivered.
The limitations line protects you. The interval is the next appointment. The signature is the point at which it becomes a document.
How to complete it
Step by step
1
Print it or open it, one per tree
The checklist is one sheet per tree. On a property with six trees to assess, six sheets, numbered to match the tree tags. Or open the wizard in the app and the numbering is done.
2
Targets before you look up
Walk the drip line and beyond. Every target, its occupancy, and whether it can be moved. This takes five minutes and it is the step most often skipped when the crack in the trunk is visible from the truck.
3
Site, health, load, then the tree
Steps 3 through 5 are context. They take two minutes of looking around and asking the client two questions. Then the tree, from the collar up, with every box on the part checklist either ticked or consciously left blank.
4
Three likelihood calls, then the matrices
Roots, trunk, crown: what is the main concern, how much load is on it, how likely is failure in the time frame. Then the two matrices per failure type. The app runs them; on paper they are printed on the form.
5
Mitigation, residual, priority, interval
What you would do, what the rating becomes, how urgent, when to look again. This is the part the client reads.
6
Sign it and send it
Final or preliminary, limitations, credential number, photos. In PHC Rx the same nine steps produce a branded PDF the client opens from a link.
About the download
The checklist is a PHC Rx layout that follows the field order of the industry-standard Level 2 method and the order of the app's nine-step wizard, so a completed sheet transfers straight onto the full form or into the app. It is a field aid, not a certifying body's form. Two pages: the tree, targets, site, health, load, and defects on page one; categorization, mitigation, and finalize on page two.
The same nine steps, on your phone
The PHC Rx risk wizard walks the checklist in the same order and will not let you finalize with a step skipped. The matrices run from your likelihood and consequence picks, the photos attach to the tree, and the report generates with your credentials and branding on it. The checklist is for the crews that want paper in the field and the app at the truck.
FAQ
Questions arborists ask
What is a Level 2 tree risk assessment?
A basic assessment: a 360-degree ground inspection of one tree with simple tools such as binoculars, a mallet, and a probe, producing a risk rating for a stated time frame. Level 1 is a limited visual walk-by of many trees; Level 3 is an advanced assessment with resistance drilling, aerial inspection, or root excavation.
Do I need a credential to use the checklist?
No. Anyone can walk the checklist. The rating carries much more weight with a tree risk assessment credential behind it, and some municipalities and insurers require one.
Why targets first?
Because the target sets the consequences, and the consequences are half the risk rating. A tree with a probable failure over a woodlot is low risk; the same tree over a bus stop is not. Walking the targets before looking at the tree keeps the rating honest.
How long does a Level 2 assessment take with the checklist?
Twenty to forty minutes per tree for an experienced assessor, longer on a large tree with several defects or a complicated target picture. The checklist does not make it faster; it makes it complete.
Where does the full form fit?
The checklist is the sequence; the form is the record. Most crews fill the checklist in the field and the form, or the app, at the truck. The form page explains every field.
Related